How to Use the Handbook #
Retrieving Information #
The handbook is divided into sections for general company information and individual departments. Each department has a tree of sub-pages with content relevant to that department.
2 Tables of Contents
- Handbook Table of Contents is on the left side of most pages.
- Page-specific Table of Contents is on the right side of some pages.
If any outdated, incorrect, or incomplete information is identified, take a minute to create an edit.
Handbook Technology #
This template is based on the following:
- Hugo Static Site Generator
- Markdown for simple formatting (title, bold, link)
- Shortcodes for formatting (columns, hints, tabs, diagrams)
- Docker build container to create the HTML rendering from the markdown and images
- Hugo Book Theme
- Page layout, additional shortcodes
- GitLab Pages
- Web site hosting
- GitLab Flow
- Handbook content change workflow
- Use issues to formulate ideas
- Use merge requests to create and update content collaboratively
All of the functionality is open source so anything can be scrutinized.
Minor Content Updates, Single Page #
To edit a page, click on the link at the bottom. This will bring you directly to the repository, to the page you are viewing, to be able to make a change.
When you have made your change to the page, enter the Commit message and Target branch name before submitting the change.
- Commit message should be concise since you are limited to a single document change, something like “update leave policy to reflect pandemic”.
- Target branch should be a Kebab-case phrase of not more than 40 characters, something like “pandemic-leave-policy”
As soon as the commit is done, click the “Create Merge Request” button to add context to the change and assign it for revuew.
Since the branch will be removed when the change is merged, it doesn’t need to tie back to issue names or change request identifiers. This is a simple, short workflow, the purpose of which is to maintain a large amount of documentation.
Adding Images and Screentshots #
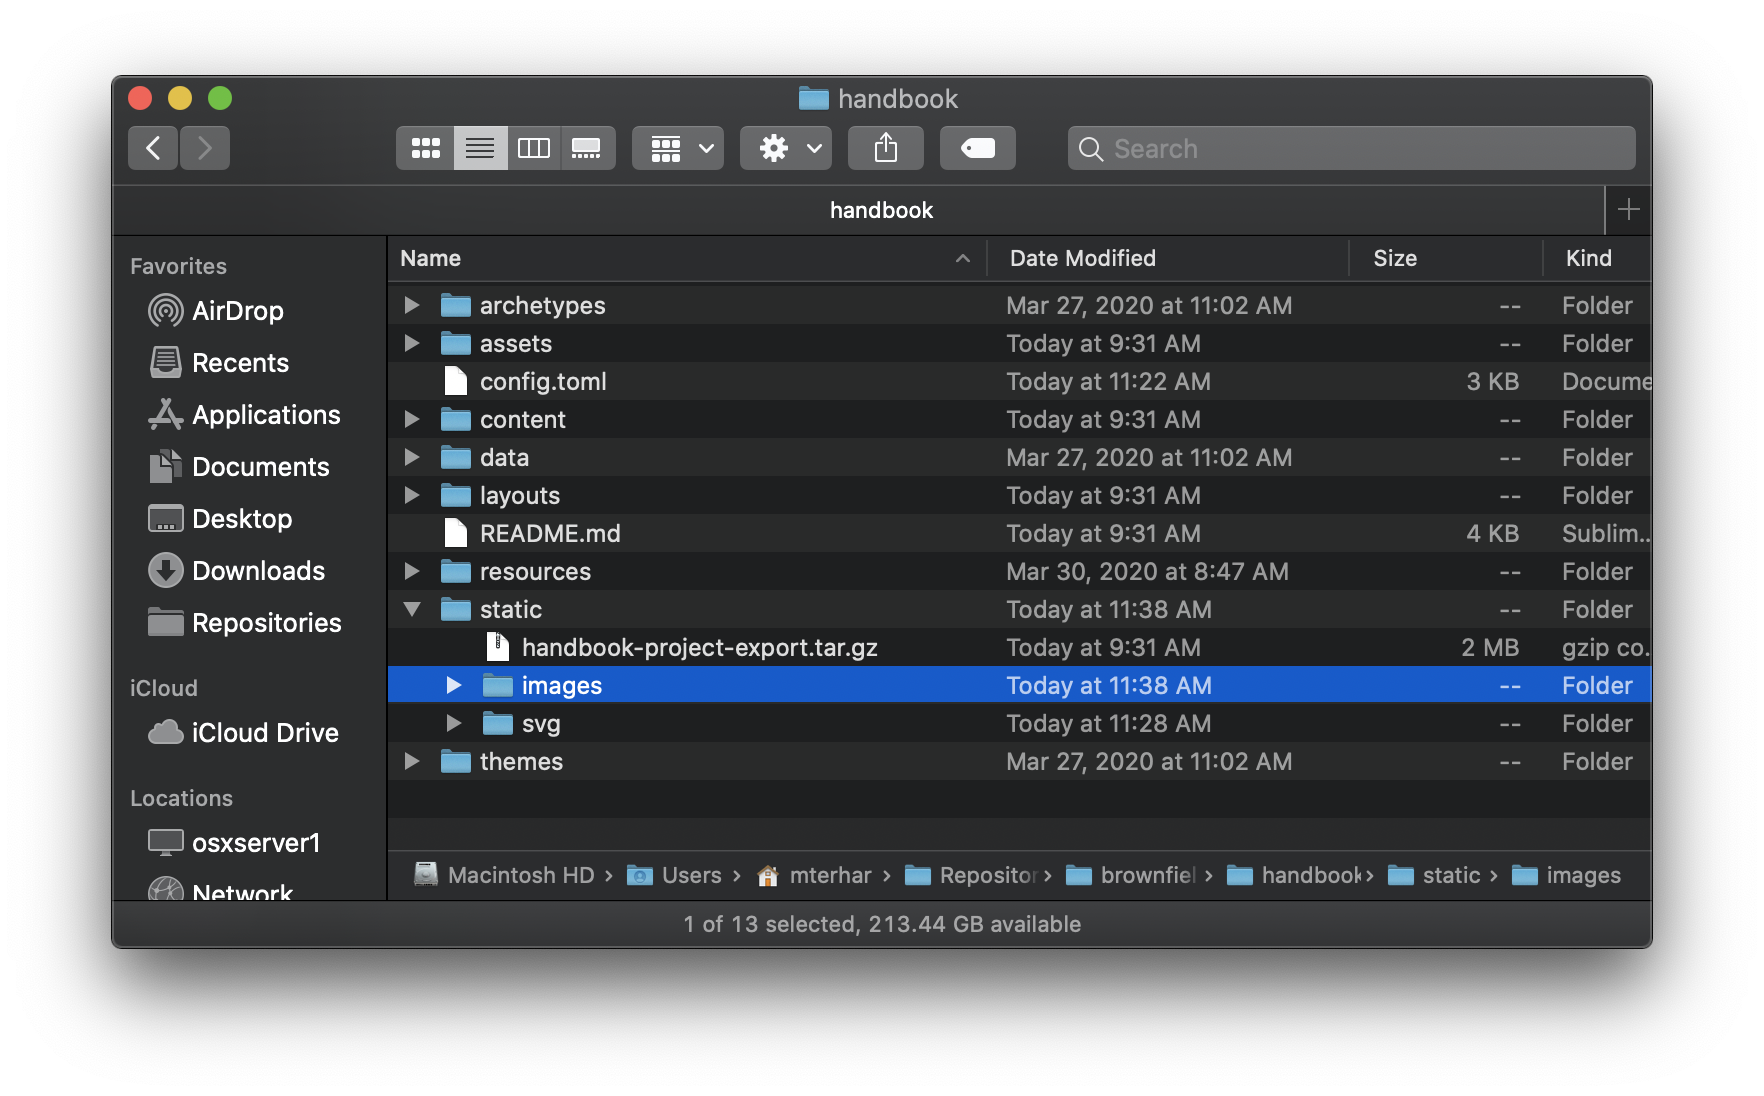
To add an image, open the /static/images directory and upload your image. Create subdirectories as needed to help organize the images.
To insert the image into a page, you can either use the  approach or the Figures shortcode.
An [image] looks like this:
Be sure the leave off the “static” directory since the contents are loaded directly into the root of the published content.
A ‘Figure’ looks like this:
Title: Screengrab of Image Path
Captions can add extra context.
Adding Simple Diagrams #
Check out the Mermaid shortcode for creating simple diagrams.
graph LR; id1[Identify Change] id2[Commit Changes] id3[Merge Change] id1-- Open WebIDE -->id2 id2-- Create Merge Request -->id3
Major Content Updates, Multiple Pages #
To edit multiple pages, you can use the edit page link, but press the Cancel button and then select the Web IDE button at the top of the next page.
The Web IDE allows you to open many files at the same time using the tree to the left. The top becomes tabs for each open document. Changes are saved into browser local storage as they’re made so reloading the page or navigating away by accident should not result in lost data, though it is still a web browser so be careful.
After editing the places you want, click on the “commit” button to get to the Commit message and select Create a new Branch.
- Commit message for larger changes should still be concise but will likely need to include multiple lines to explain why each file was changed.
- Target branch should be a Kebab-case phrase of not more than 40 characters, something like “pandemic-leave-policy”
You may want to make multiple changes at different times and add muliple commits to the same branch. At any point, click the “Create Merge Request” button to add context to the change and assign it for review.
Structure or Theme Change #
For a change to the whole site, it is recommended to perform the updates locally using a regular git workflow. The readme file in this repo talks about how to run hugo locally. The Merge Request for these changes will include a link to the local environment to review changes. It will only work for the developer or anyone who checks out the branch and runs Hugo locally.
Be sure to update docs about how to use the handbook for any changes that impact the user worlflow.
Menu and Navigation #
There are 2 approaches to managing the left-side navigation. One is to use the front matter for each page in the site and let it compile the menu at build-time. The alternative is to go into the config.toml and set BookMenuBundle = '/menu' (or uncomment it). Then the sample menu/index.md file will be used to render the left navigation.
Menu Structure
For changes to titles, order, or other menu renderings, edit the page’s front matter or modify the
_index.mdfile in that directory.
The menu/index.md approach has a significant drawback, an additional approval will be required for any changes to the site that require updates to the navigation.
The in-page approach has the drawback that as the site grows, many pages will require the bookHidden: true or bookCollapseSection: true to be set to prevent being overwehlmed by content.
Front Matter Options #
---
title: GitLab Workflow with Infrastructure as Code
weight: 11
bookHidden: true
bookCollapseSection: true
bookToc: false
bookFlatSection: true
---
bookHidden: if set to true, hides the page from the left navigationbookCollapseSection: if set to true, it only shows this page in the left nav and child pages only appear when navigated to.weight: Sets the order in the left navigation with 1 at the top and 10000 at the bottom.title: the text that shows in the left navigation for the titlebookToc: Hides the page-specific table of content (on the right-hand side of the page)bookFlatSection: If set to true, promotes the pages at this level to the same tier as the _index page.